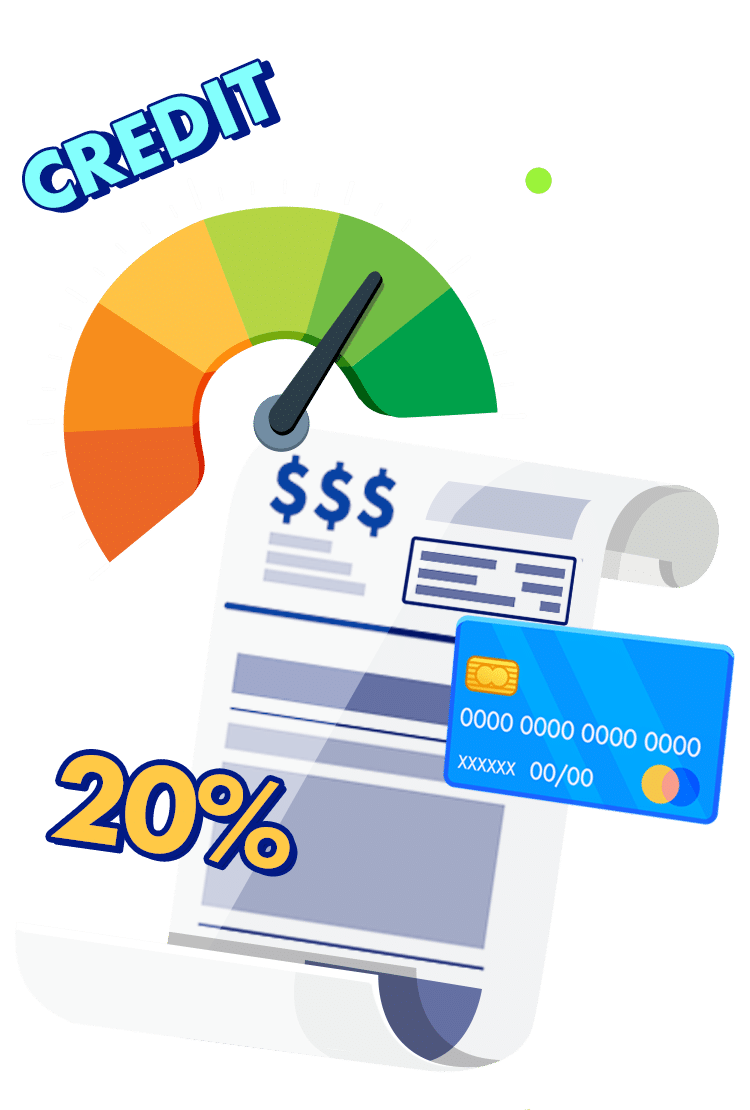
PersonalFinanceLab’s Budget Game is an awesome tool to help teach students how to manage their money, pay bills on time, build up their credit, and get experience managing personal finances in a safe enviornment.
But one of the cornerstones of true financial literacy is being able to look over financial records, like bank statements, and draw conclusions about spending and saving habits. This is why we also have our built-in, exportable statements for each student’s checking account, savings account, and credit card!
Introducing Bank and Credit Statements
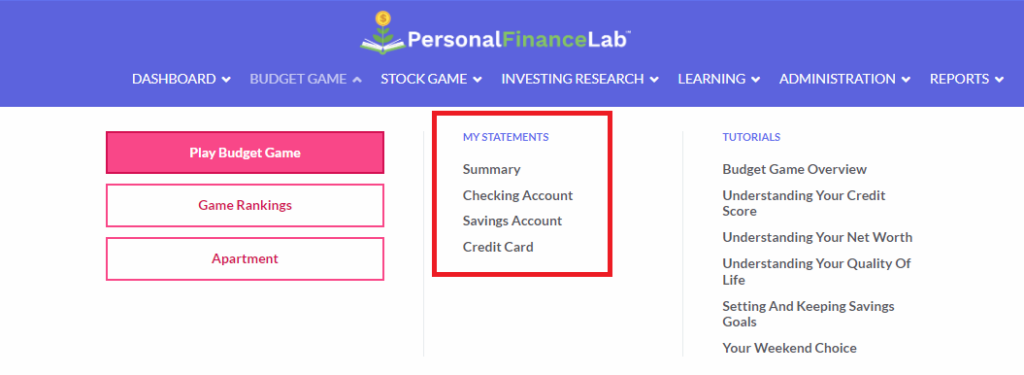
As students play through the budget game, they have a number of other tools available in their main menu. The Bank Statements are easy to overlook as students play through the game, but provide important extra insights, and a gateway to a wealth of other class activities outside the game itself.
Features of the Bank and Credit Statements
As students play through the budget game, they get paid into their checking account, and can use their debit card or credit card for transactions. They also are encouraged to transfer money into their savings account, both to build their emergency fund and as part of a long-term savings strategy.
Their Statements allow them to get a list of all of their transactions in each account, and see transaction summaries for any date range.
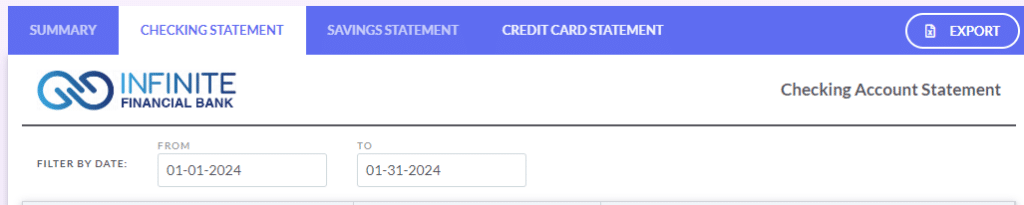
Choosing A Date Range
At the top of each statement, there is a place to choose the date range to examine. By default, this will be set to the student’s current month in the game, but they can change the date range to look back at previous months, or even view everything from the game so far in one view.
Summary Section
After choosing a date range, students can see the summary of all of their transactions in this account over that time. For example, they can see what their starting and ending balance was from their Savings Account to see exactly how their savings has grown over time, along with their current account balance.

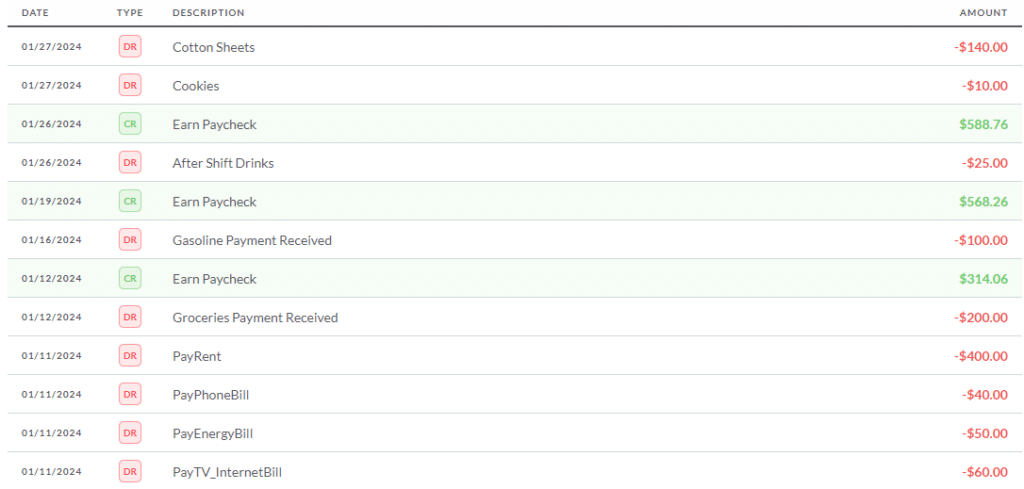
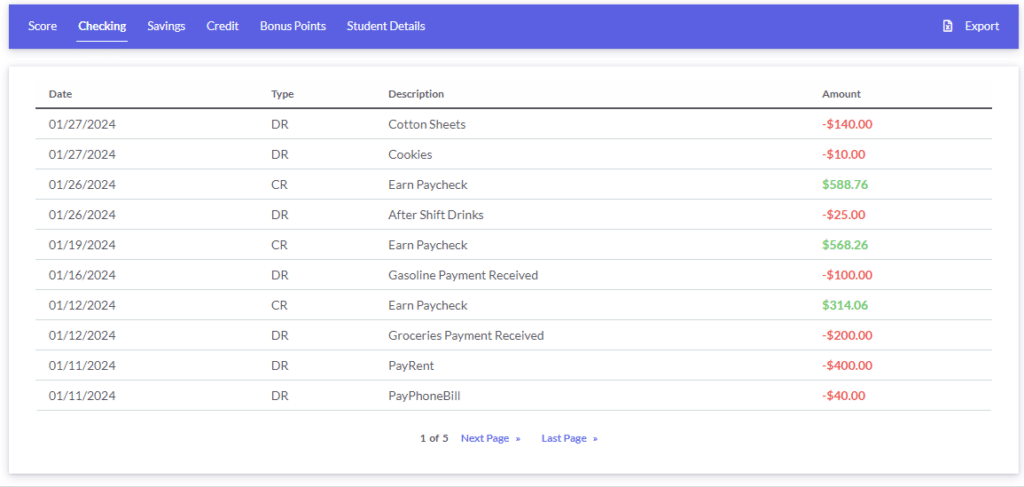
Transaction List
After the summary, students can see a complete list of all transactions on this account over the selected date range.
Exports
Perhaps most importantly of all, students can export their statements as an Excel spreadsheet, or straight to Google Sheets. This allows teachers to create additional in-class activities based on the financial data students created themselves in the budget game. Some activities can include:
- Building Spending Summaries: Export both their Checking Account transactions and their Credit Card transactions, and build a pie chart of their spending based on “Needs vs Wants”, and “Fixed vs Variable”.
- How does each student’s pie chart compare with their neighbors?
- How do the pie charts of students at the top of the class rankings compare with those near the bottom?
- Credit Card Utilization: Export their Credit Card transactions, and use a spreadsheet to create a sum of all transactions by month. Over the course of the game, students’ credit limit increases – are they spending more on their credit cards just because they “can”?
- Power of Compound Interest: Towards the end of the game, have students export their Savings Account statements, and use a spreadsheet to filter down to just the interest earned. Make a line chart, showing that the line chart has an upward curve (not a straight line), illustrating the power of compound interest even in a basic savings account over a short period of time.
Teacher Access
While teachers cannot dive directly into the full bank statements of every student, they do have the power to view and export the transactions from each student’s checking, savings, and credit accounts. This also includes extra information that is not normally visible to students.
Single Student View
To view the transactions of any one student, go to “Reports” on your main menu, and click “View Transaction Histories By Student”.
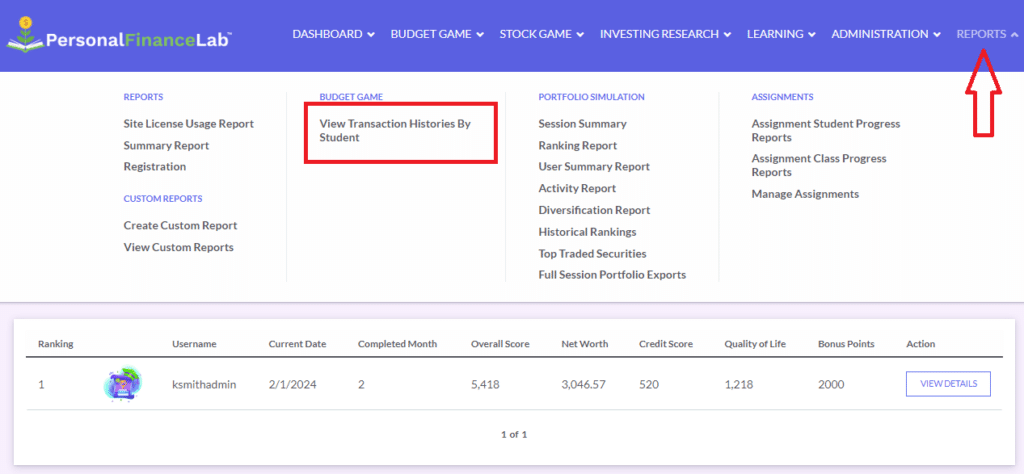
This lets you see each student in your class, with their summary stats, and a button to view more details. Clicking “View Details” will show you the same transaction lists that students see on their statements, plus other “hidden” information too.
This view gives you 6 tabs to dive into students in greater detail, each of which is exportable to Excel or Google Sheets as well.
- Score: This is a summary of the student’s overall game stats, including their current date in the game, score, net worth, quality of life, credit score, and the combined fixed monthly expenses they face each month.
- Checking, Savings, and Credit: These three tabs pull the full transaction histories for each student in each of their three accounts. Teachers do not have the ability to filter by date range (like the students’ statements), but they can export.
- Bonus Points: This view lets teachers see the extra bonus points students earned (or lost) throughout the game. For example, this will let you see the points a student has earned by hitting monthly savings goals, or hitting milestones in their Emergency Fund.
- Student Details: This gives teachers an explicit breakdown of what each student has chosen for the 4 “fixed” expenses they can control – what apartment type they rented, phone package, TV/Internet package, and grocery plan. This allows teachers to see directly which students “spend big” on their fixed expenses, and which choose less expensive options.
Conclusion
Getting deeper access into how a student actually spends money through the game is an essential component of building lifelong financial literacy. Leveraging our built-in bank statements in your classroom is a great way to help prepare students for the real world after school!